

As soon as WhatsApp verifies your Notification template, you can begin using it.
Once your notification has been approved by WhatsApp, it can be used.
What you have to keep in mind when sending notifications
When sending notifications, there are different levels that are defined by WhatsApp – the so-called TIERS. These define how many users you are allowed to send your notification to
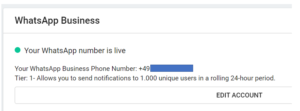
Tier 1: You are allowed to send your notification to 1000 unique users. If you want to move up to Tier 2, you have to send a notification to a total of 500 users within 7 days.
Tier 2: You are allowed to send notifications to 10,000 unique users. If you want to advance to Tier 3, you have to send a notification to 5,000 users within 7 days.
Tier 3: You can send your notification to 100,000 unique users.
Here you can find the link to the Facebook page, where you can get more detailed information.
It is also important to note whether your number is flagged on WhatsApp or not. We also show this information within our MCP (Messenger Communication Platform) – i.e. you can see for yourself if you have been flagged.
Under Settings >> Channel >> Messenger: Here we show the status of the WhatsApp number.
There, for example, the messages can look like this:
whatsapp_status_flagged_orange
The WhatsApp number is available, but has been warned.
whatsapp_status_flagged_red
The WhatsApp number is available, but warned for bad content and in danger of being blocked.
This is how it looks like, if everything is fine, then a green circle is displayed with the message “The WhatsApp number is available”. This message would be replaced by the above messages as soon as the status of the WhatsApp number changes.
How to send the notification you have created
You have three options: send to a user, to a specific target group or via MIA
Option 1: to a user
- Open the closed ticket in the desktop.
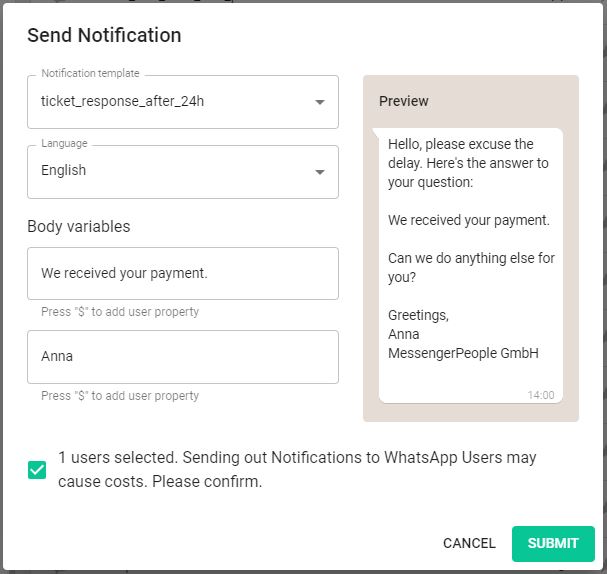
- Click on the plus in the lower left corner of the input window to select the verified notification.
- Now you have the option to send the notification. Insert the text for the placeholders into the corresponding fields, select the language and send the notification.
Option 2: to a specific target group
- Navigate to the menu item “Users”.
- In the upper right corner you will find an icon with triangular vertical lines, once you click on it, you can select the desired target group in the dropdown.
- Now you will see a new icon in the upper right corner – a small paper airplane. Here you can also open the mask to select the notification and send it to all selected users.
If you want to send notifications automatically, you have to use an API connection to your system.
Using a target group to prepare for promotion to a higher level (tier)
Let’s assume you want to send a push message to 10,000 users using notifications, but you are still in Tier 1 – i.e. you are not allowed to send a notification to more than 1,000 users. Then you have to work your way up from Tier 1 to Tier 2 without exceeding 1,000 users per day. How to reach only a certain group of 1,000 users outside the 24h window, we will show you now:
- Set a user attribute (value = number). You can find the article about user attributes here.
- Go to Settings >> Channel >> Users and click on the three dots in the upper right corner and then on “Download CSV”.
- Now you have downloaded an Excel table. Select 1,000 users in this Excel table and give them the value 1 under the created user characteristic.
- When you did this, save the Excel table and upload the CSV file again under “Upload CSV”.
- Now go to the target group configurator and define the target group.
Option 3: via MIA
How this works can be found in the article MIA and Non-transactional Notification.