

What’s Zapier?
Zapier is a web service that links automated actions between different apps and synchronizes their applications with each other so that they execute the desired processes. This is done with the so-called “Zaps”
Zapier is based on the principle of “When this happens…then do this…” and consists of a trigger and an action
What do I need to prepare?
To create an integration with the Messenger Communication Platform (MCP) and another app, you need an invite link. Feel free to write to your account manager – he/she will send it to you.
After you sign up for Zapier using the Invite link, you can create your first Zap.
How do I create a Zap?
First of all, think about which apps you want to link. In our example, we want a private message to be sent to you in Slack when a new ticket opens in MCP.
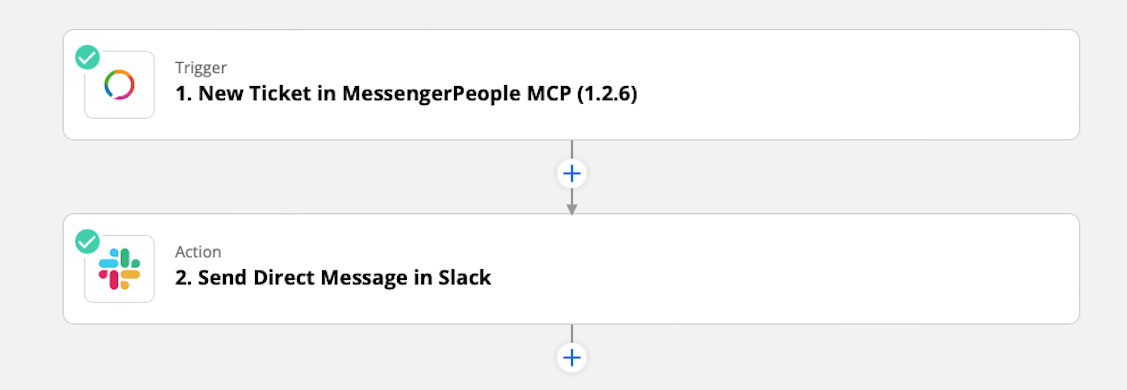
- Go to “Create Zap” on the left side.
- First select a trigger – in our example this is MessengerPeople 1.2.6.
- Choose a trigger event which should start the Zap – in this case we choose “New Ticket” and go to “Continue”.
- Then select your account at MessengerPeople – in our example it is called “Franzi Service-Channel”. So if a new ticket opens here, the action will be triggered. To link your account at MessengerPeople with Zapier, you need the API Key. You can find it in the MCP under Settings >> Channel >> API.
- Set up trigger: here you have to make three settings.
- New Tickets: True – if a new ticket is opened, the action should be executed.
- Filter by content: only tickets from users matching the search filter will be listed.
- Ticket Status: when the message should be received on Slack, when a new ticket is opened, closed or both.
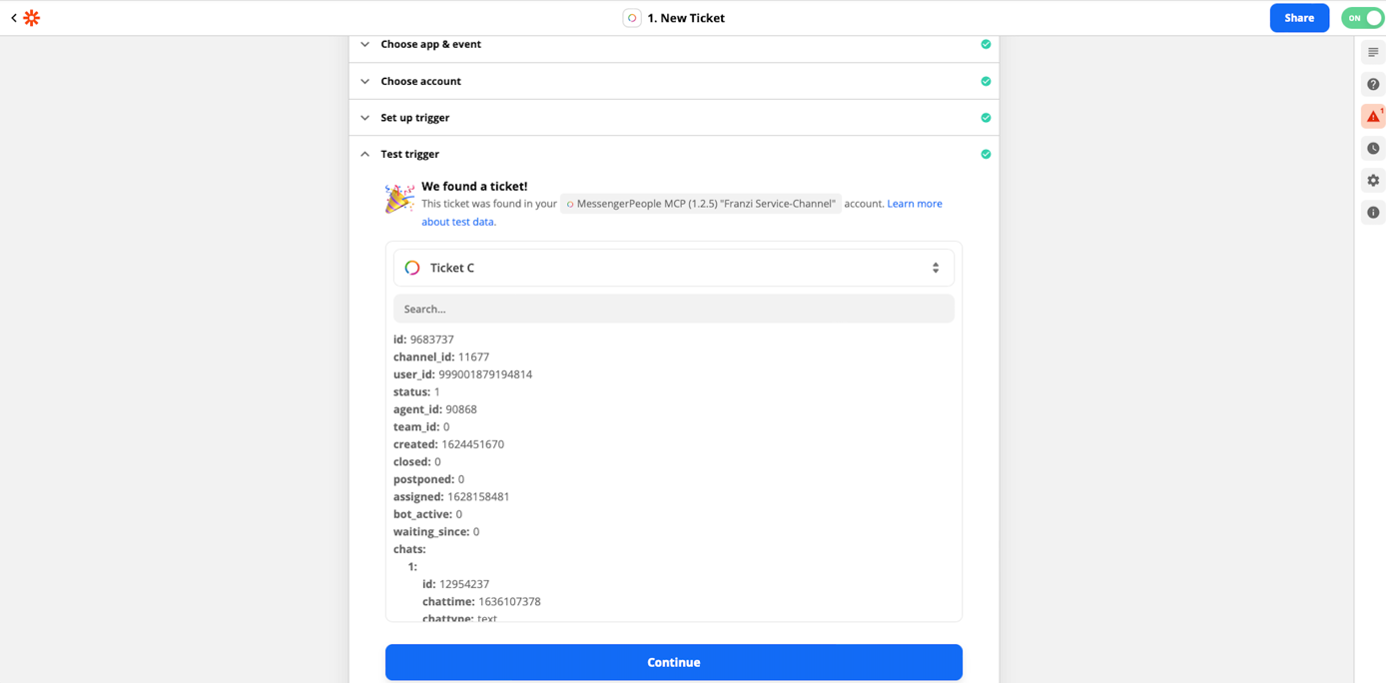
- Test trigger: if it says “We found a ticket!”, then you have done everything correctly and can go to the next step.
- Select an action: this is an event that a Zap executes after it is started. In our example, you select Slack here.
- Choose an action event: here you choose what should be done when a new ticket is opened in the MCP – in this case a direct message should be sent.
- Choose an account: select the account with which you are logged in to Slack.
- Set up action; here again several settings have to be made:
- Send Multiple Message: do you want to send a message to one or more people. If you set this to “No”, then the message will only be sent to a specific person.
- To Username: what is the name in Slack?
- Message Text: what should be in the message
- Send as a bot? Direct Messages are always sent via the bot >> so enter “yes” here
- Bot Name: this is the name of the chat the message is coming in from
- Test action: if it says “a message was sent to Slack about xy minutes ago” and you received a message, then it all worked.
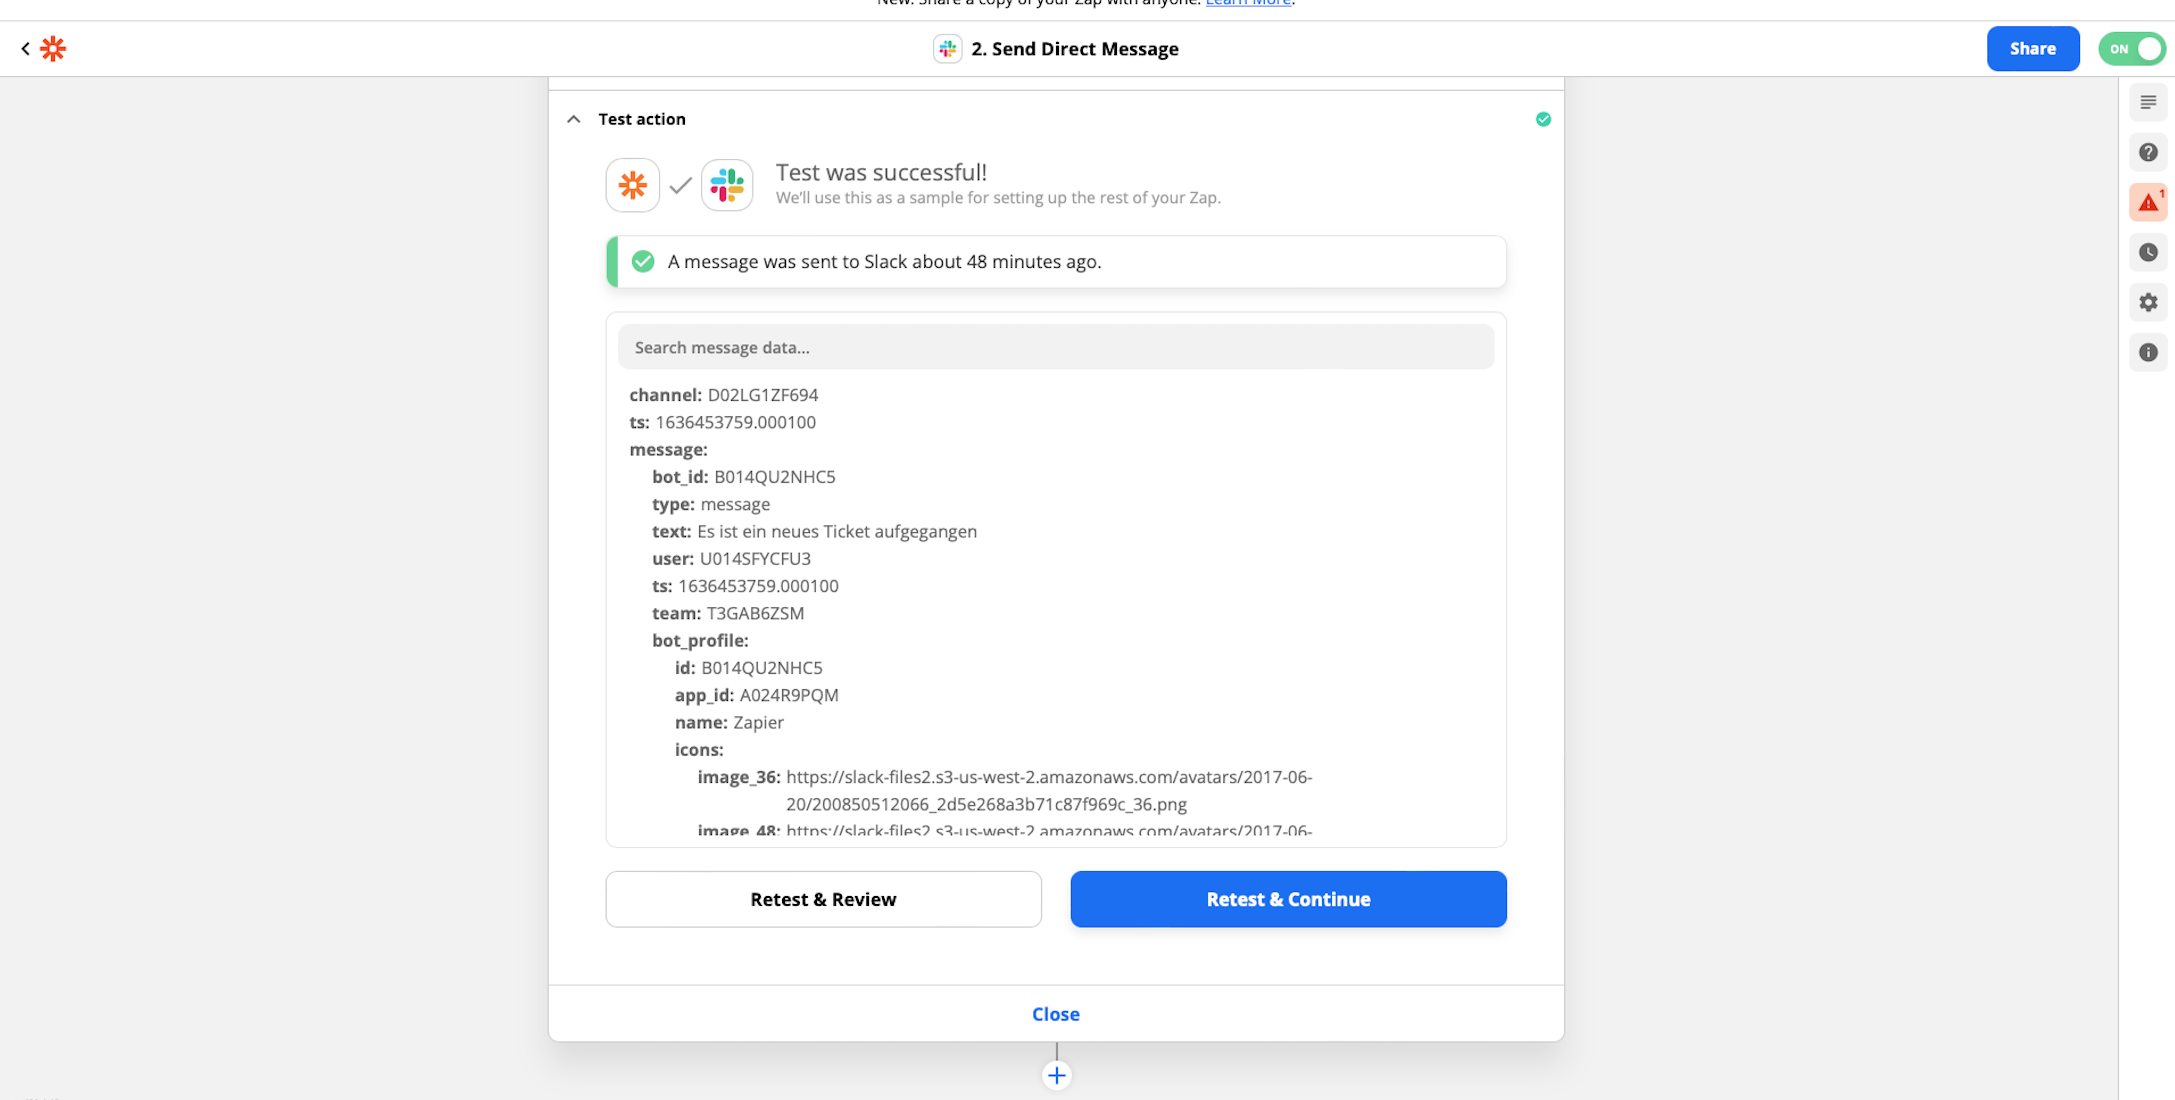
- After that you can activate the Zap.